Portal Gun
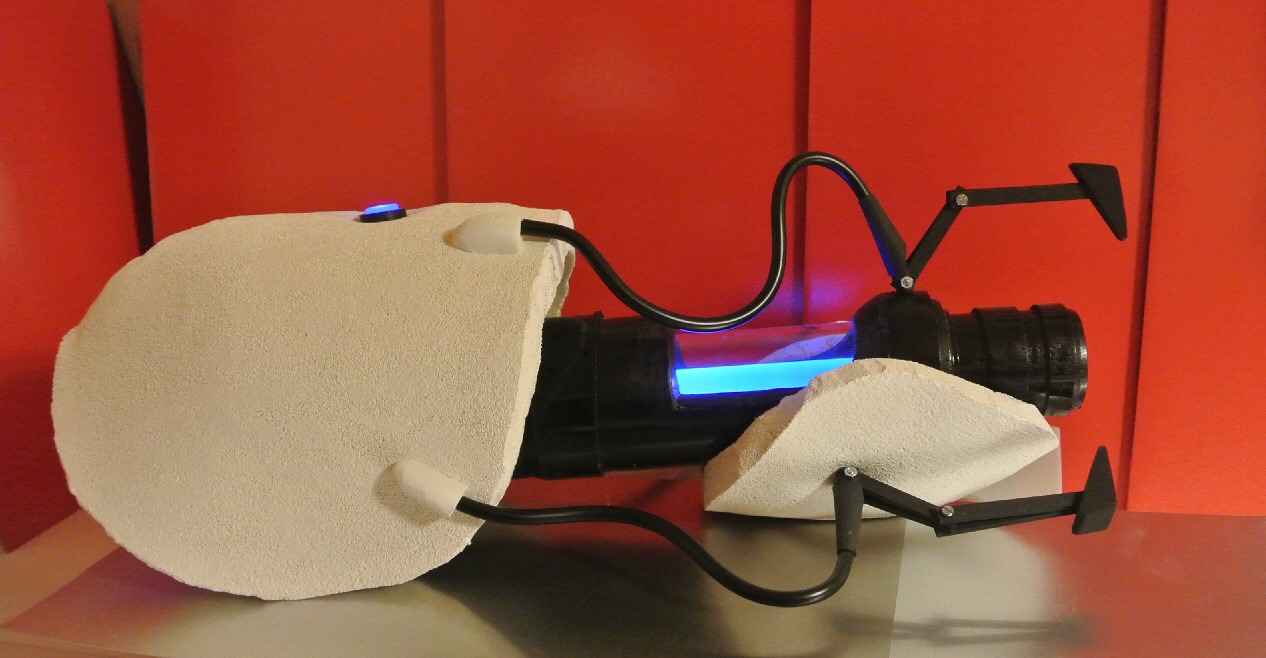
- Timeframe: 7 daysA hastily made portal gun. It took about 7 days distributed over 3 weeks iirc. Mainly made with some tubes and a sheet of soft foam. The interwebs said to use this hard foam stuff. But I couldn't find it anywhere. Very annoying. The white rounded parts are the hardest. So I had no choice other than to start with the stuff I had. Turns out the my foam looks something like a house facade with tons of paint sucked in. In the end, I glued all the parts I had hastily together with hot glue. So this is far from perfect. The reaction chamber surroundings needed more sanding, the foam cannot be cut in without ugly fringing, the paint job is... well it is white. and so on... I am still thinking about the best way to improve/redo the white body parts. But from a few meteres away it looks like a portal gun. And isn't that what counts?
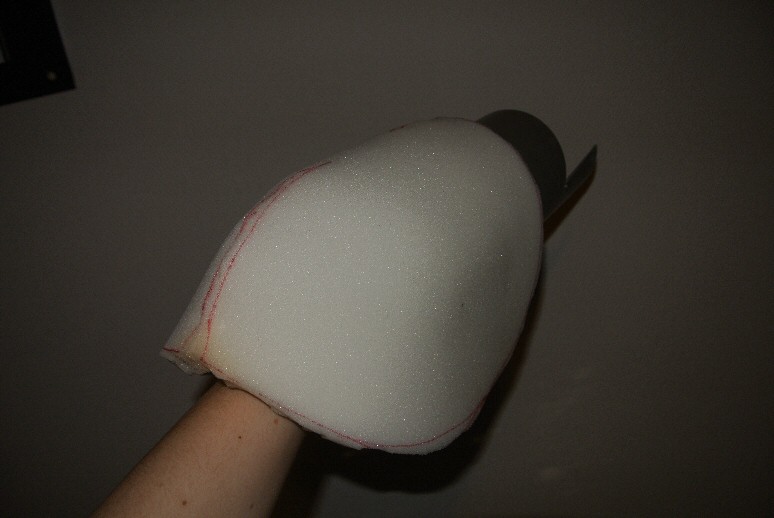
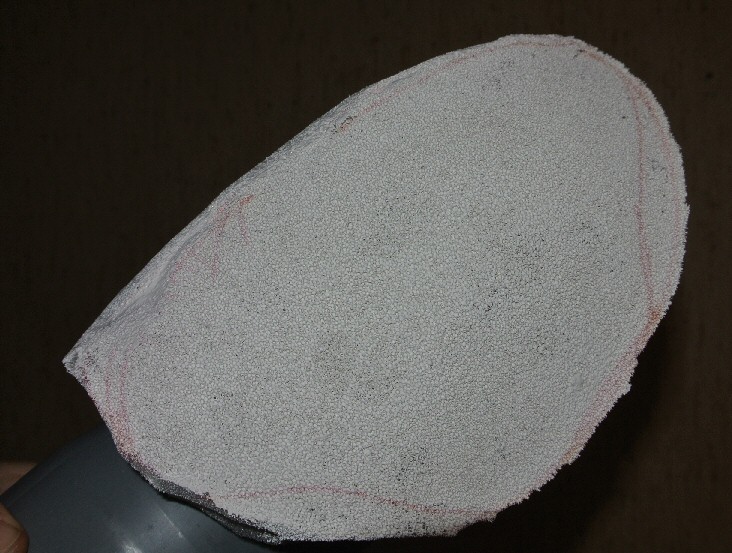
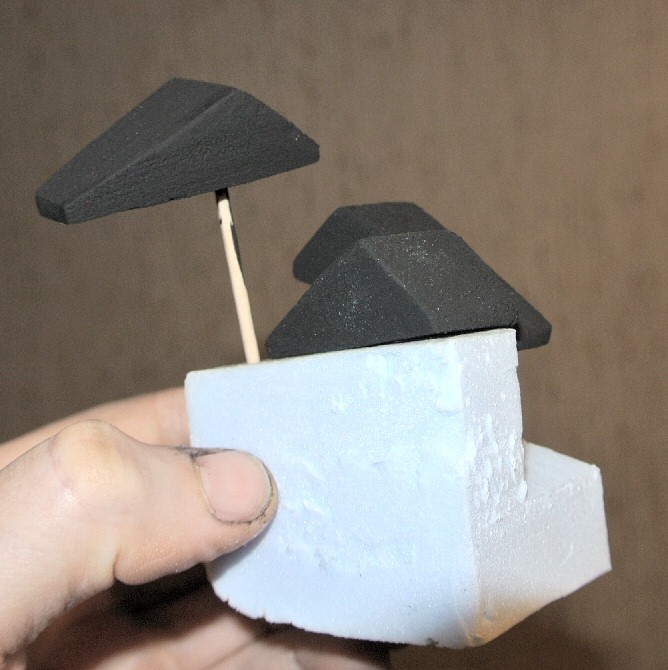
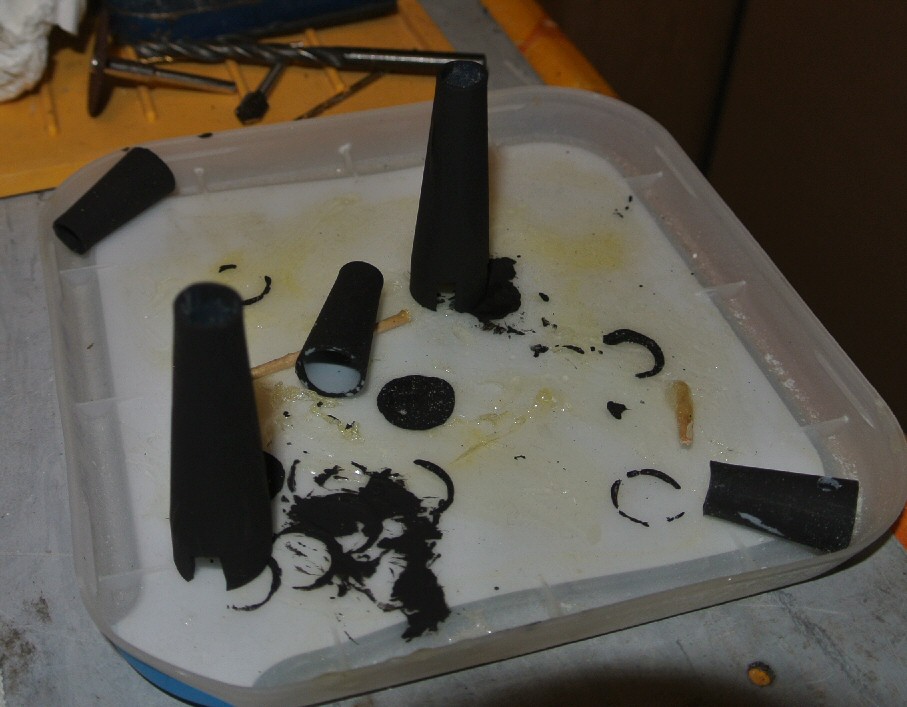
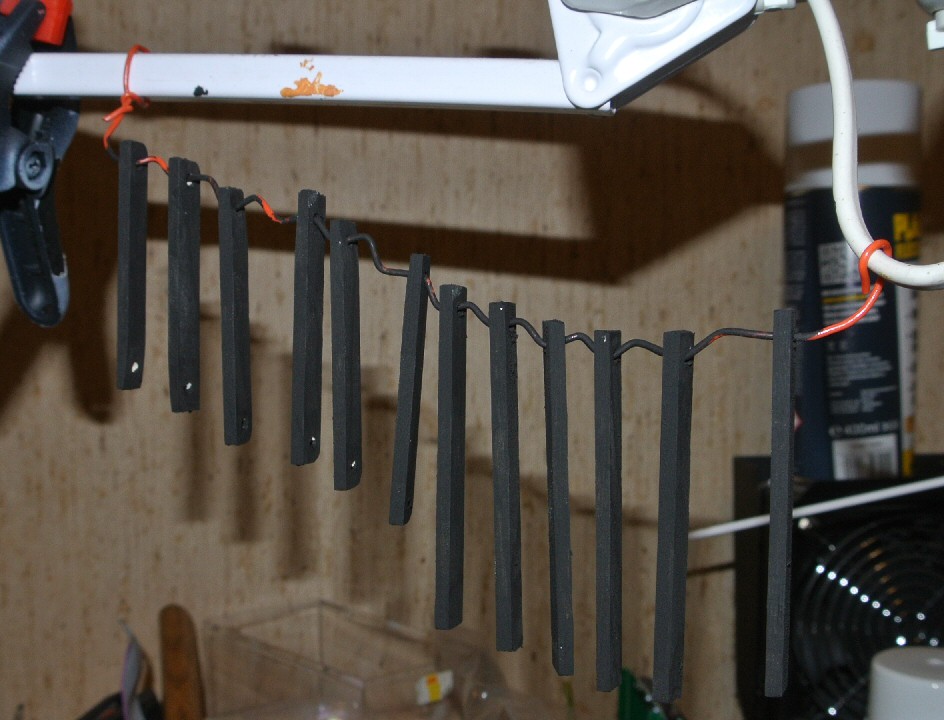
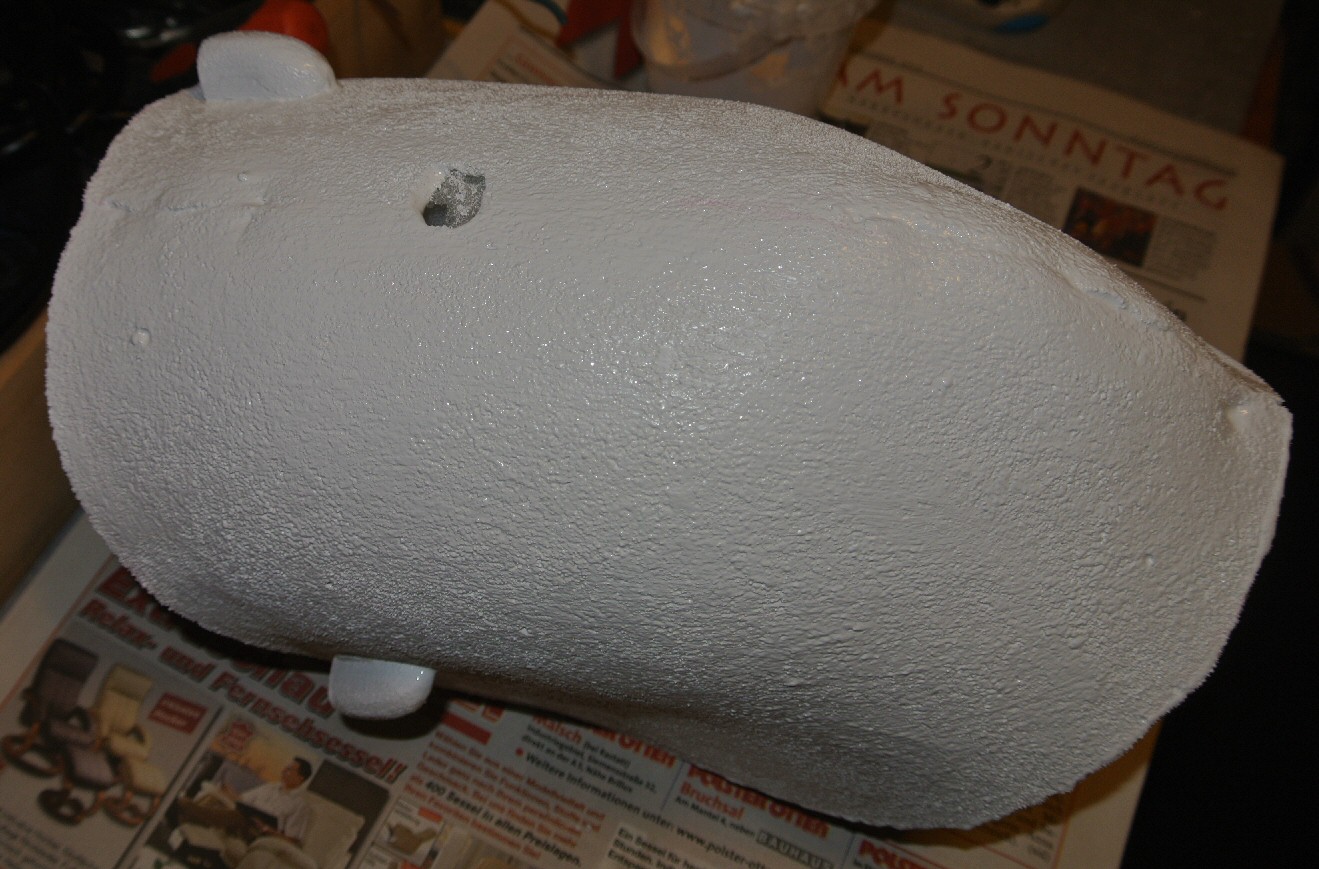
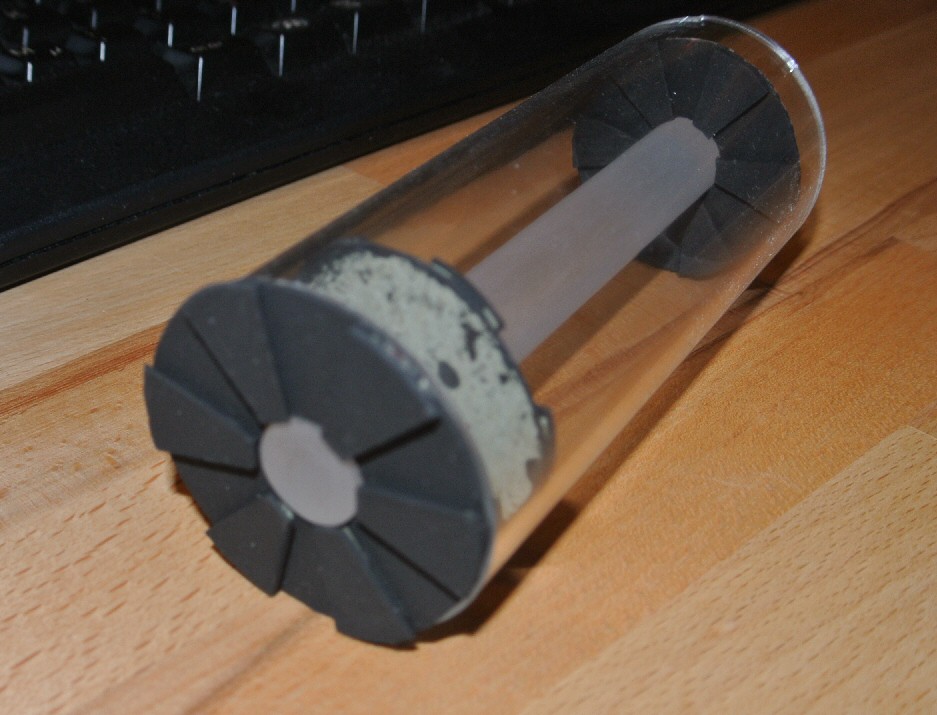
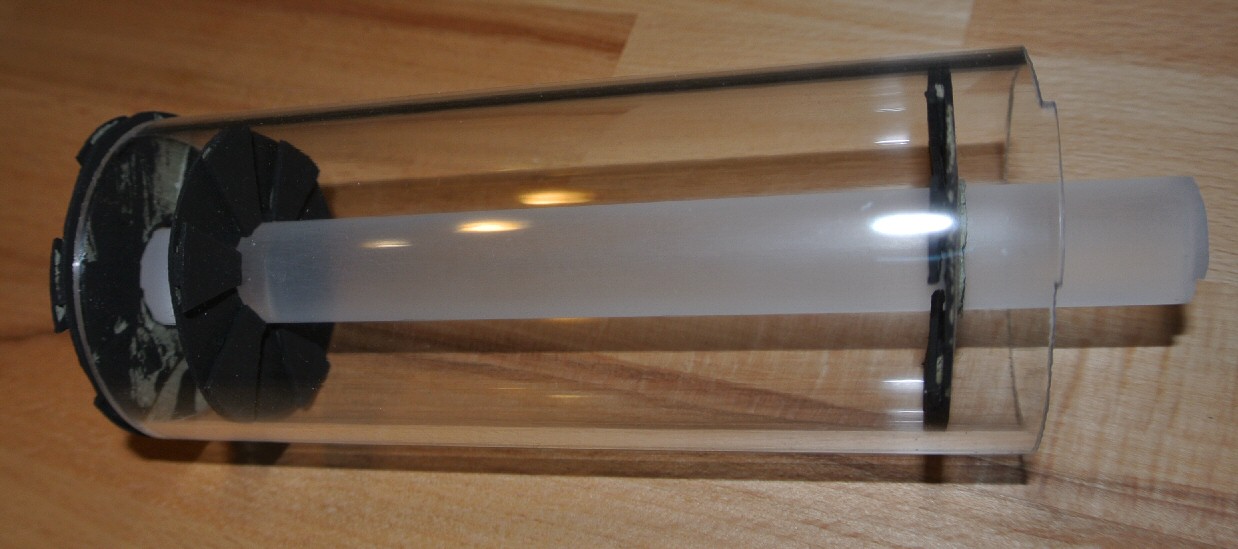
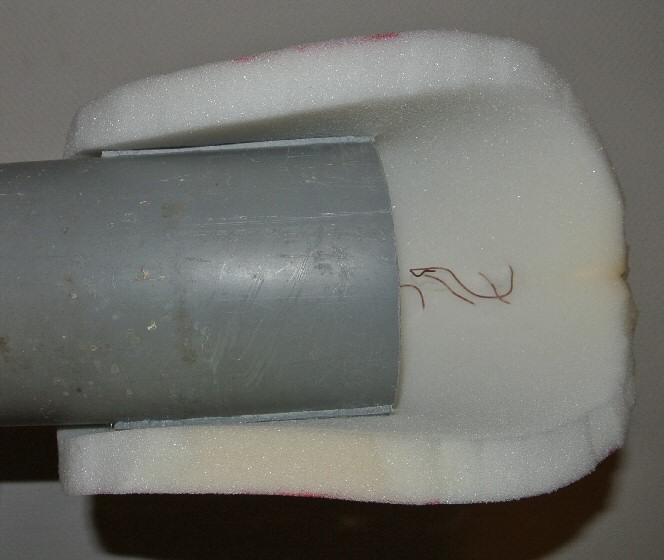
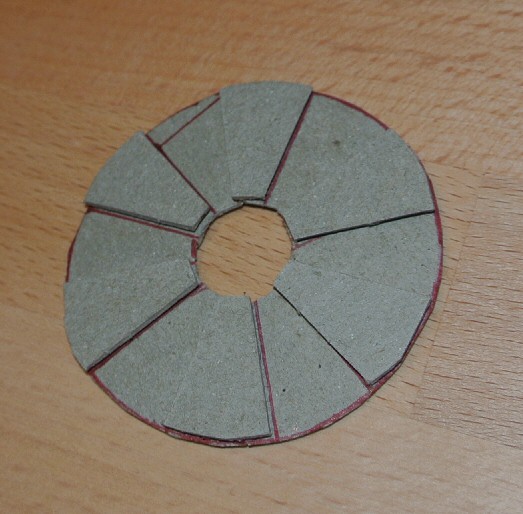
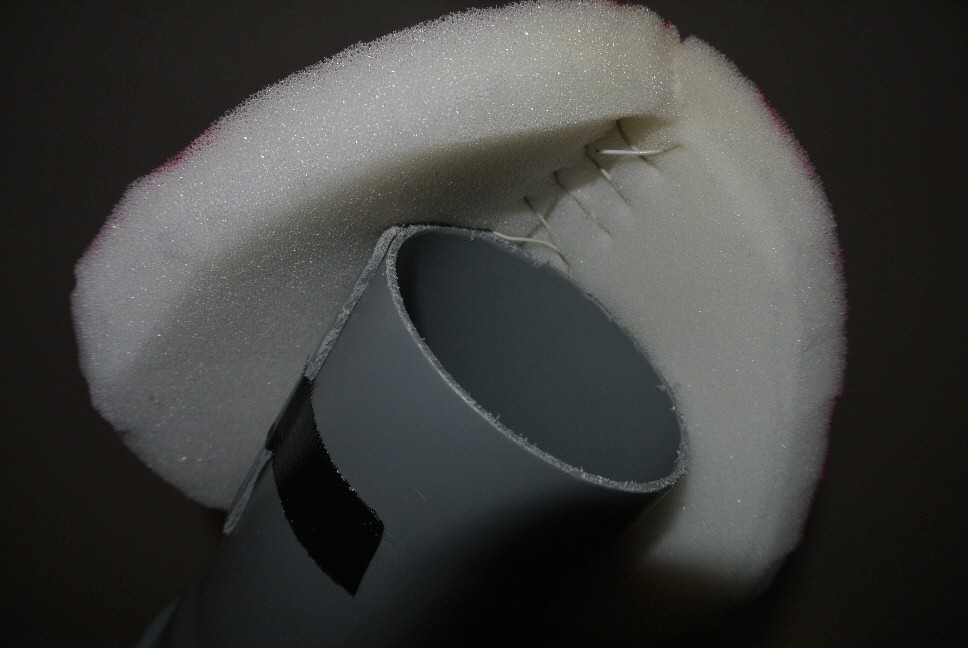
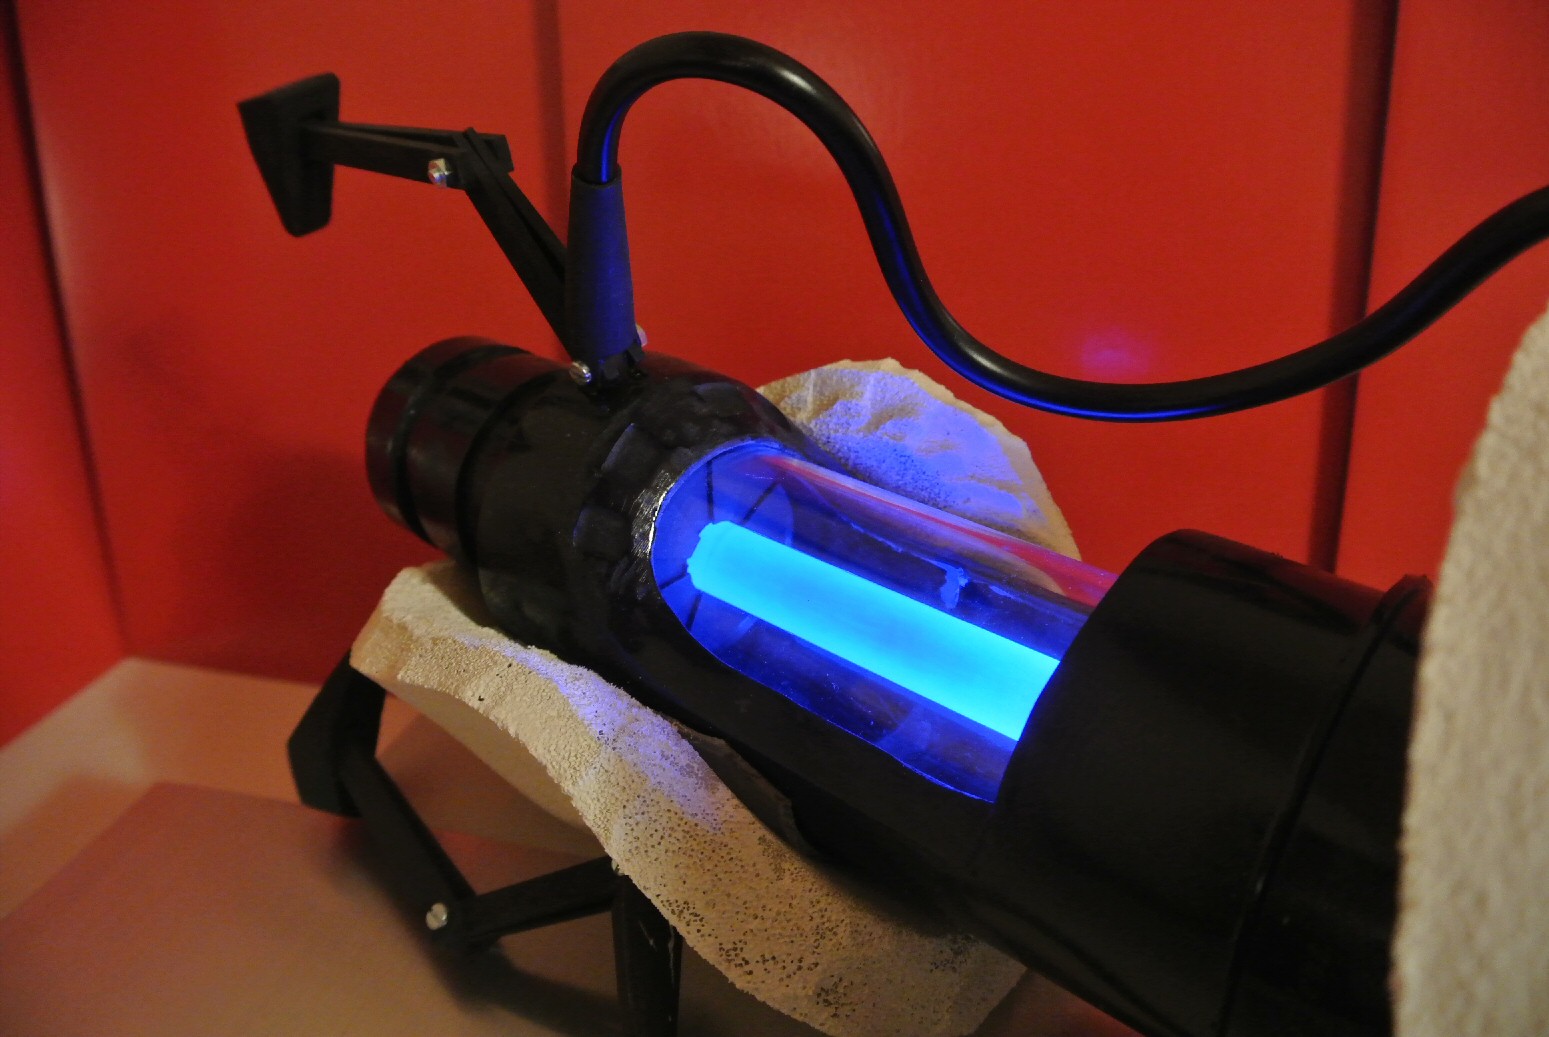
- Foam cut and the seams glued together. Also glued to a 100mm pipe. - This soft foam doesn't like to be bent, so the first thing I did was sewing it together with some wire. Then glueing the touching areas. - Also mind the partial pipe it is glued to. These pipes are not form stable. Which means the partial pipe contracts together. So the inner pipe is for temporary stabilization. - Testing different paints on foam. Plasti dip spray, white spray paint, acrylic paint (only discolored because I tried to sand it.) Acrylic wins, it fills the pores. - The main eye catcher. Now there is this 70mm outer tube with an inner tube. But the inner tube later has the clear reaction chamber tube inserted. The clear tube has 50mm. So we can't use regular 50mm pipe to hold it. Dang it. This inner tube is made of two 50mm couplings. It has to be 2 couplings for the length. In the middle is the gap visible. - This cardboard stuff didn't work. The putty didn't stick to the plastic. Annoying. - So just fill everything. This was the first pass. Still holes and gaps. - After a ton of paint: We need another ton. - Never ever use red markers. Bring another gallon of paint! - Left is nearly done. Not smooth. Not at all smooth. But white and in shape. And that was the main challenge. - I LOVE this material. This is styrofoam, but very dense. Great stuff so sand away a lot in short time. But cutting isn't that easy. - These are the cable connectors. Made from the tips for caulk presses. - Painted wood. The things at the front. I don't even know how to explain what they are... - Hole and cable Connectors.
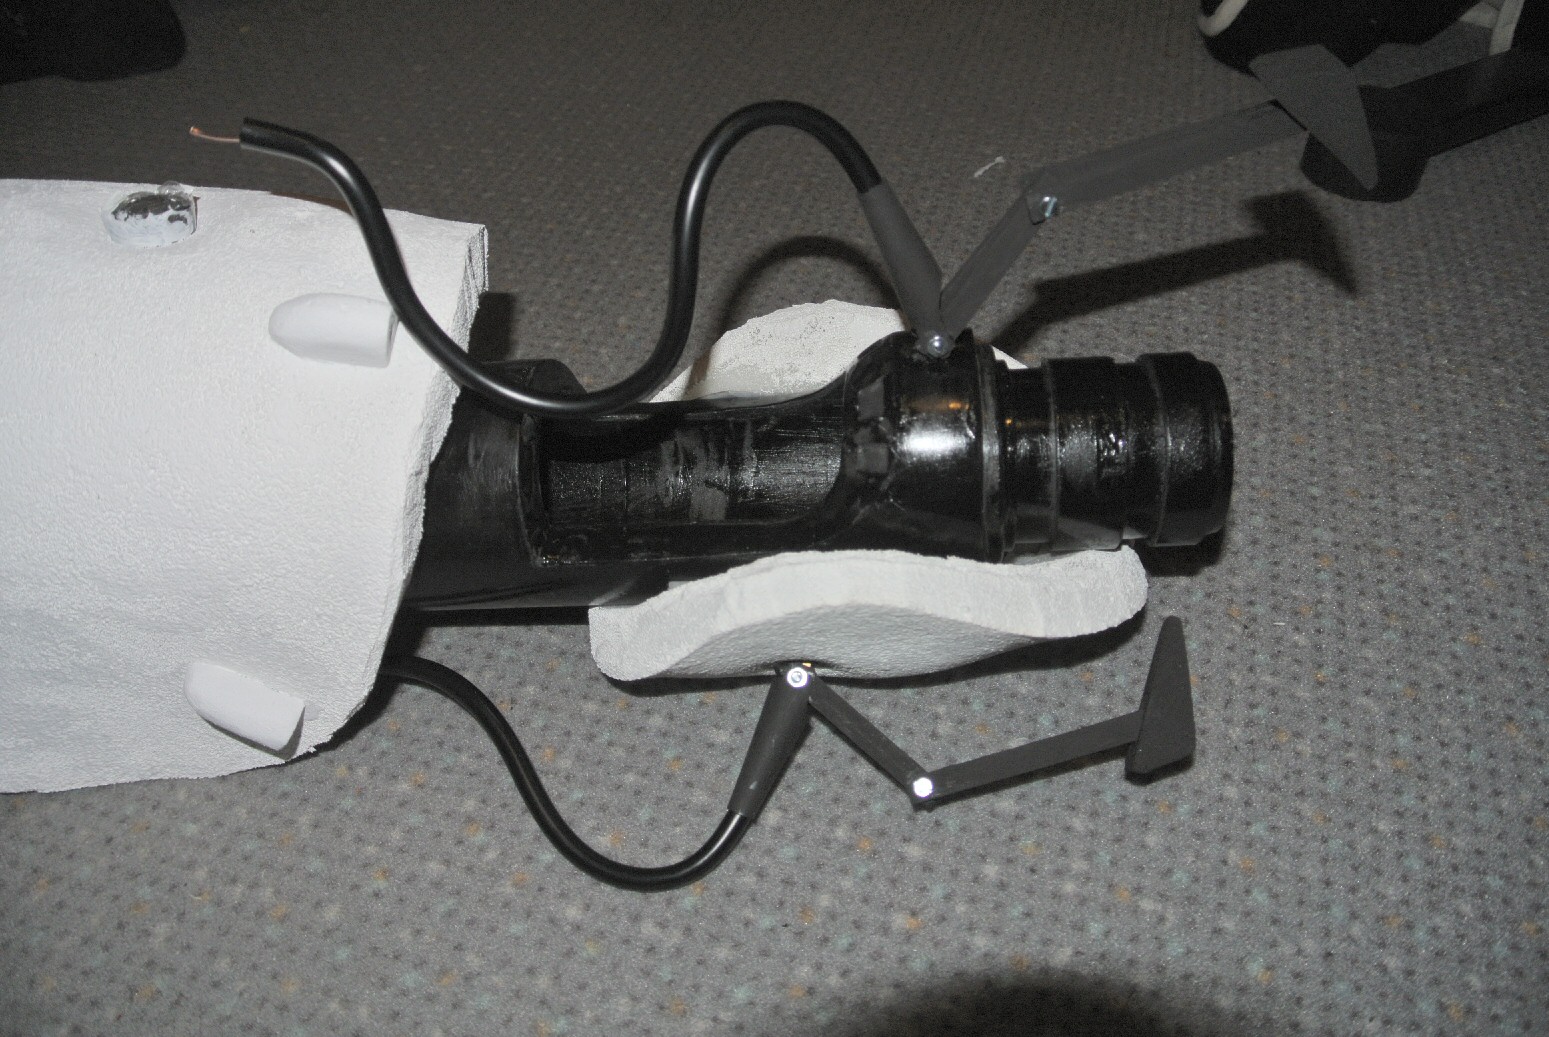
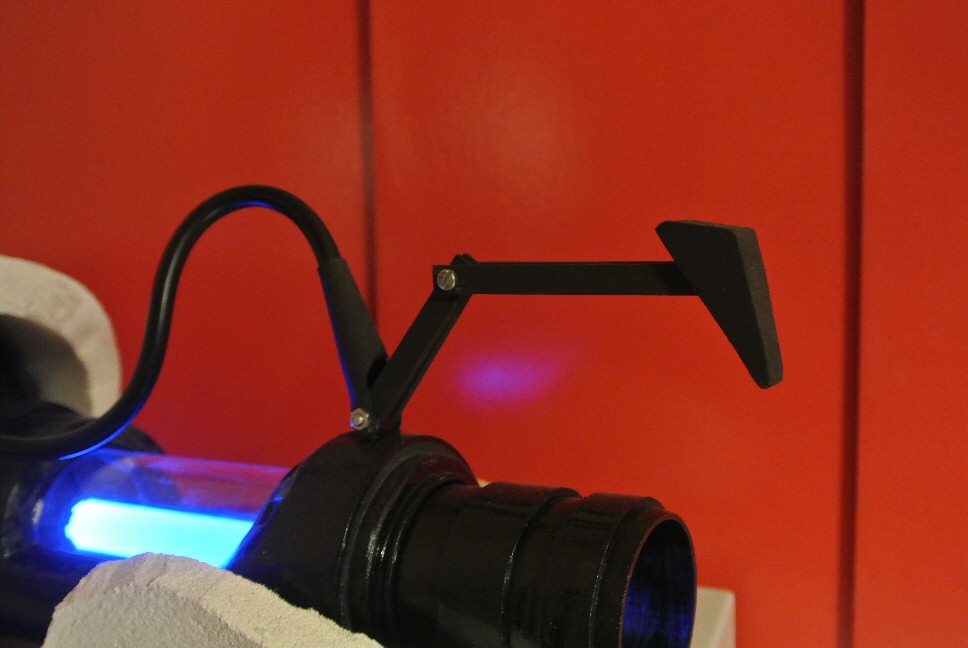
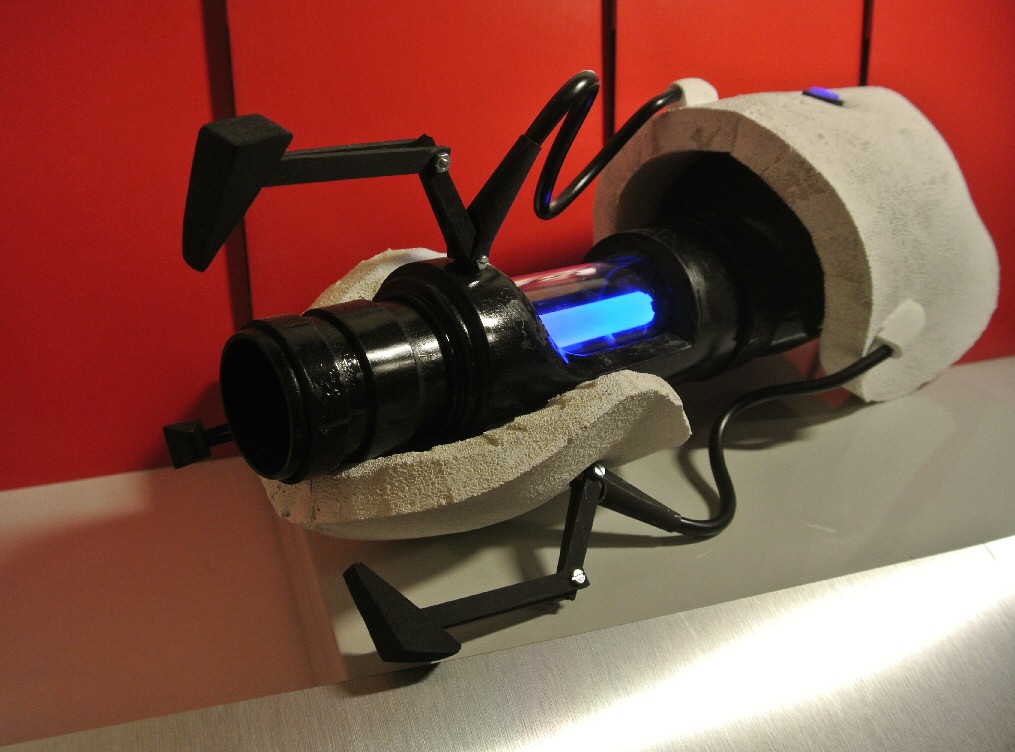
Cardboard vent thingy. Reaction chamber with vent thingies. I know, the arms are too short. Ran out of wood. Didn't calculate the lengths well. Mind the glowing dot on top to the left. Installed using two seals from above and below. Still wrapped in tape to keep the paint away. Insides still missing. Cables are hollow with strong wires to keep the shape. As we see here, the lower black 'arms' are sadly too far to the back. Somehow I got the distances to the front end wrong. How are the arms mounted you ask? With the metal inlay of luster terminals. The arms are mounted with a screw going through the luster terminal like normally the wire would. Then a second screw comes through the portal guns body and screws into the luster terminal. I thought it was ingenious. But drilling the holes and hiding the screw heads inside the gun was fiddly.
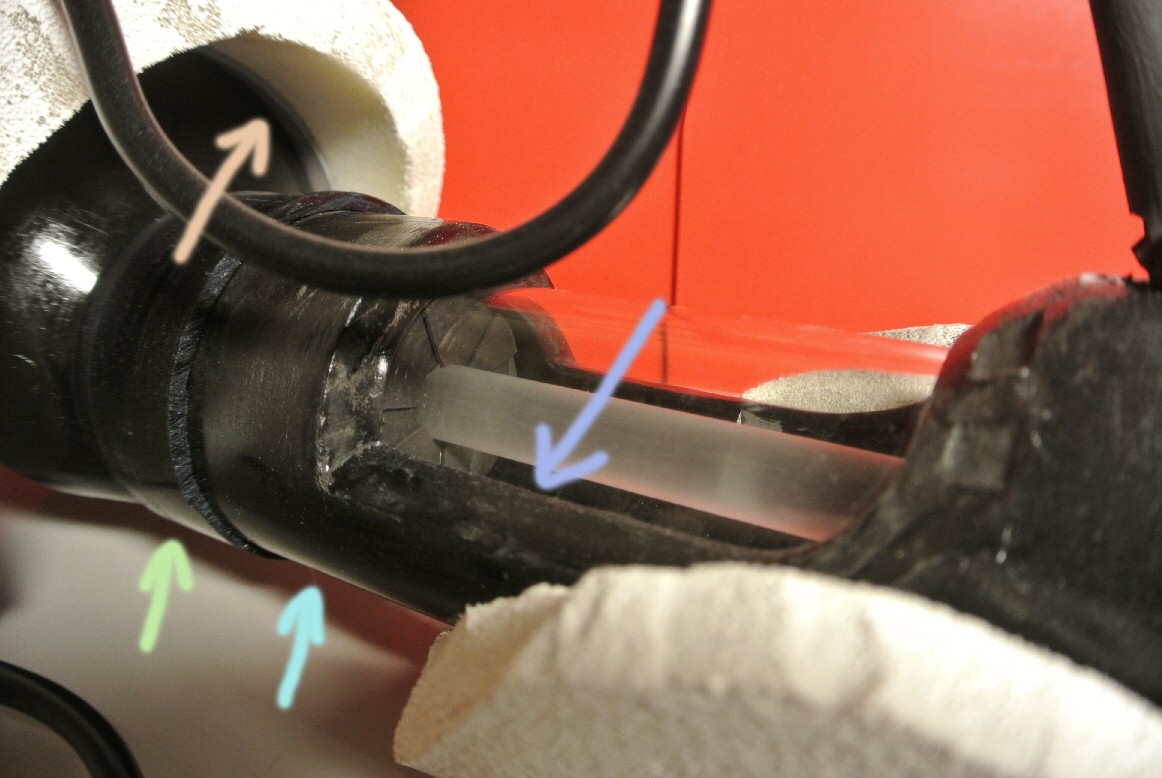
orange: 100mm pipe, bracket with the white body part glued on. greenish: 70mm to 100mm coupling, cut here and there. blueish: 70mm pipe. violet: 50mm coupling, holding a 50mm plexiglas tube.